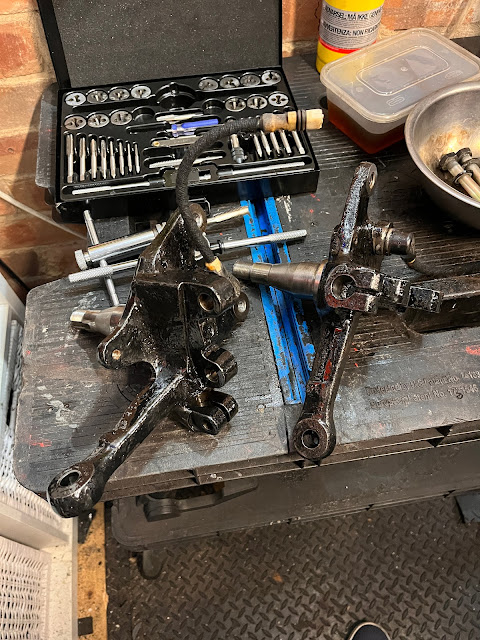
Front Steering Knuckle
The brake dust covers on the steering knuckles were rusted away on both sides, and replacing them required the hub to be stripped down. Van Svenson's three-part YouTube details how to strip down and replace the bearings.
The dust cover bolts required heat to get them out, and unfortunately, one broke off, as I did not use enough heat. So I will be using that pillar drill again to get that sorted.
Managed to source some new brake dust covers from 944 Online, which is a company in the USA, for £74.92, including postage for a pair. However, there will be an import tax to pay on these. Regardless of the import and handling fees, they will come out cheaper than getting them in the UK where they are just short of £200 per side from Design 911

Painted the steering knuckles with POR51 which is amazing stuff. Drilled out the broken nut and tapped it out with a M7x1.0 tap . Cleaned up the other M7 holes and also ran a tap through the thread for brake callipers. Cleaned up the brake calliper bolts on the wire wheel on the bench grinder and caught my the knuckle of my index finger on the grinding stone. It cut straight through my glove and left a big gash which took three weeks to heal. A tad more caution is needed around that bastard of a machine 😡
Replaced the bearings, as there had been a number of MOT advisories regarding the front bearings, over a three year period. This was fairly easy once the hub was heated up and very cheap at £60 for a full set of four bearings. However the tools to do the job pushed the price up as the drifting kit was £25 and the bearing grease tool was £20 and the grease gun £27 and the grease was £10, which is a total of £77 in tools. The grease gun and tool for greasing the bearings up did not work, so I would advise to save the money and just grease the bearing by hand especially as this is the second grease gun I have bought from Amazon that did not do the trick😠
Heated the hubs and drifted the old races out, cleaned up the bearing race seats and then drifted the new bearings in with a bit of heat to help, greased the new bearing and put the whole thing back together following the instructions in Van's bearings part 3 video.


